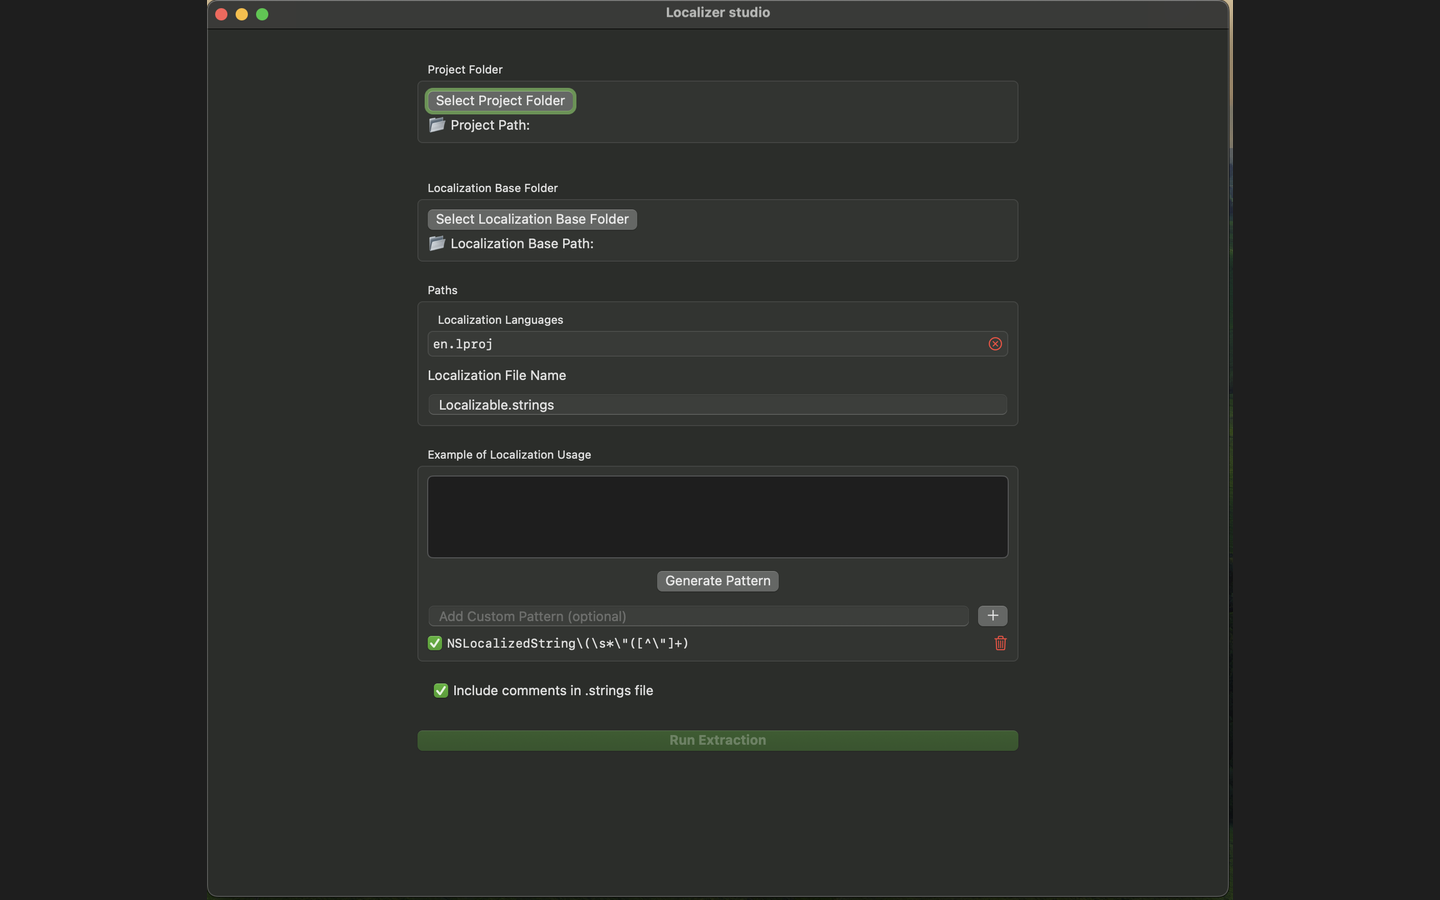
Follow these steps to import and configure localization keys using Localizer Studio:
Start by selecting the root folder of your Xcode project that contains the Swift source files.
Select the folder that contains all your language directories (e.g., en.lproj, fr.lproj, etc.).
If you need to add a new language, simply type the language abbreviation (e.g., es for Spanish).
Enter the name of the localization file. By default, this is Localizable.strings.
Provide an example of how your localization keys are used in code (e.g., NSLocalizedString("key", comment: "")).
Localizer Studio will use this to generate a matching pattern for string extraction. You can add multiple usage examples or define your own pattern.
You may choose to include comments from your code in the extraction results to provide context for translators.
Once configured, click “Run Ectraction” to extract the keys and begin managing your localization process more efficiently.
The following screenshot illustrates the basic import steps within the Localizer Studio interface: